From all of us to all of you, have a safe and fun-filled holiday season!
From all of us to all of you, have a safe and fun-filled holiday season!
I started working on the Medium Format Photography book today. I’m using a Yashicamat 124-G and a crude, bare-bones Holga 120N. Both use 120 film. All of the photographs will be taken with Tri-X. I have to use an external light meter with the 124-G since the original batteries were the mercury type and are no longer available. There’s really no point in using a light meter with the Holga except for reference.
Using the Holga is going to be a challenge. There is really no way to control exposure other than keeping your finger on the shutter release for a longer or shorter time. I shot the first roll about a half hour ago in direct sunlight. The light meter read f8 at 1/250 so I tried to click the shutter pretty fast.
I love this blurb that’s on the Holga box and have it pinned on the cork board above my drawing table.

It stretches the truth a bit. It’s going to take some time and a lot of film to dial in the Holga. I hope it’s worth it. I’ll be posting updates along the way.
Things went faster than expected so we decided to release Exploiting Your Point and Shoot now instead of waiting until next year.

Most of the photos in this book were shot with a sub-$100 dollar camera. Point-and-shoots are not simple “birthday party” cameras. They are remarkably capable light processing machines. Point and shoot features coupled with their small footprint make them an excellent choice for countless shooting situations. This books shows you how to squeeze performance out of your point and shoot and produce images you’ll be proud of.
Check out the website here: http://xpointandshoot.wordpress.com
There was an interesting frost pattern caused by the early morning sun.

I shot this with a Canon S110 point and shoot.
We were coming home from a family birthday party last night and I didn’t drive. That gave me a chance to try a reverse light painting technique with my little Nikon Coolpix 3100.

I sat in the passenger’s seat and shot out of the front window. We were taking I-75 North from Grosse Ile, passing through the heart of industrialized Detroit.

In normal light painting, the camera is stationary and the shutter is kept open while the light source moves. What I did is kind of a reverse light painting and works well at night. Take your camera (a cheap point and shoot works really well), press down on the shutter release, wiggle the camera a little bit, then point the camera to an area of complete dark and wait for your camera to complete the exposure.

I processed the shots in Lightroom. It’s a cool technique and is fun to play with. You never know what you’re going to get as a final image. There’s a few more here: https://stefanstudios84.wordpress.com/freeway-abstractions/
We’re creating panels for a graphic novel using photographic backgrounds and hand drawn characters. Being comic-bookish, straight photographic backgrounds don’t cut it. There’s an easy way to make your photographs look like drawings that only takes a few seconds to do. We’re doing the panels using Pixelmator on a Mac, but you can do it with the same steps in Photoshop or GIMP.
Here’s the original image:

First, make a duplicate layer.
Second, in the Blending drop down menu in the Layers panel select Color Dodge.
Third, press command i to invert the image.
Fourth, from the effects panel, select Gaussian Blur and adjust the image to your preference.
Here’s the final image, which took less than 30 seconds to create.

This, along with half-toning is a decent effect to use for graphic novels or comics.
Much of the time when shooting digitally in black and white the depth and breath of tones isn’t what you envisioned. You might have a great shot, but the highlights, mid-tones, and shadows are muddy. Here’s one way to help make your black and white photos pop.
For this example I used Pixelmator. Pixelmator is image processing software created exclusively for Macs. It’s kind of a cross between Photoshop and Lightroom and only costs $29.99 US. You can download it from the Apple App Store. If you don’t have a Mac, you can use GIMP, the free, open source Photoshop clone.
Here’s the original photograph taken in Downtown Detroit.

I like the Free Coffee sign, the hand pointing up, the two guys talking to each other and the beat up signs in the foreground. What bugged me about this shot were the dull highlights. So how can this be fixed?
Curves
One of the most powerful features of image processing software is the Curves adjustment. Curves allow you to adjust the tonal range of your image, which is just what we are looking for.

You simply move the curve or move the points to improve your image’s tonal range. There is an almost identical dialog box in GIMP.
Dodging and Burning
Dodging and burning are old darkroom techniques. Dodging decreases the exposure of an area, making the area lighter. Burning increased the exposure, making it darker. Just think as Dodging as lightening and burning and darkening. In the film world, dodging and burning were difficult techniques to master. In the digital world it’s pretty simple.

The dodging tool looks like a feather duster. You can select the range of tones you want to dodge (lighten). These are Highlights, Midtones and Shadows. You can also vary the exposure with a slider bar.
Burn tool
The Burn tool looks like a flaming water drop and works like the Dodge tool with the same tone and exposure selections.

The photo below has curve adjustments and was burned and dodged. I made the white really stand out for this post. Normally they wouldn’t be so pronounced.

As you can see, this photo ‘pops’ a lot more than the original.
If you work with a Mac, pick up Pixelmator. It’s a great program that’s dirt cheap. If not, check out GIMP. I’ve used GIMP extensively in the past and think it’s a great tool.
I took my Canon 30D with the Holga lens with me this morning and took a few shots.
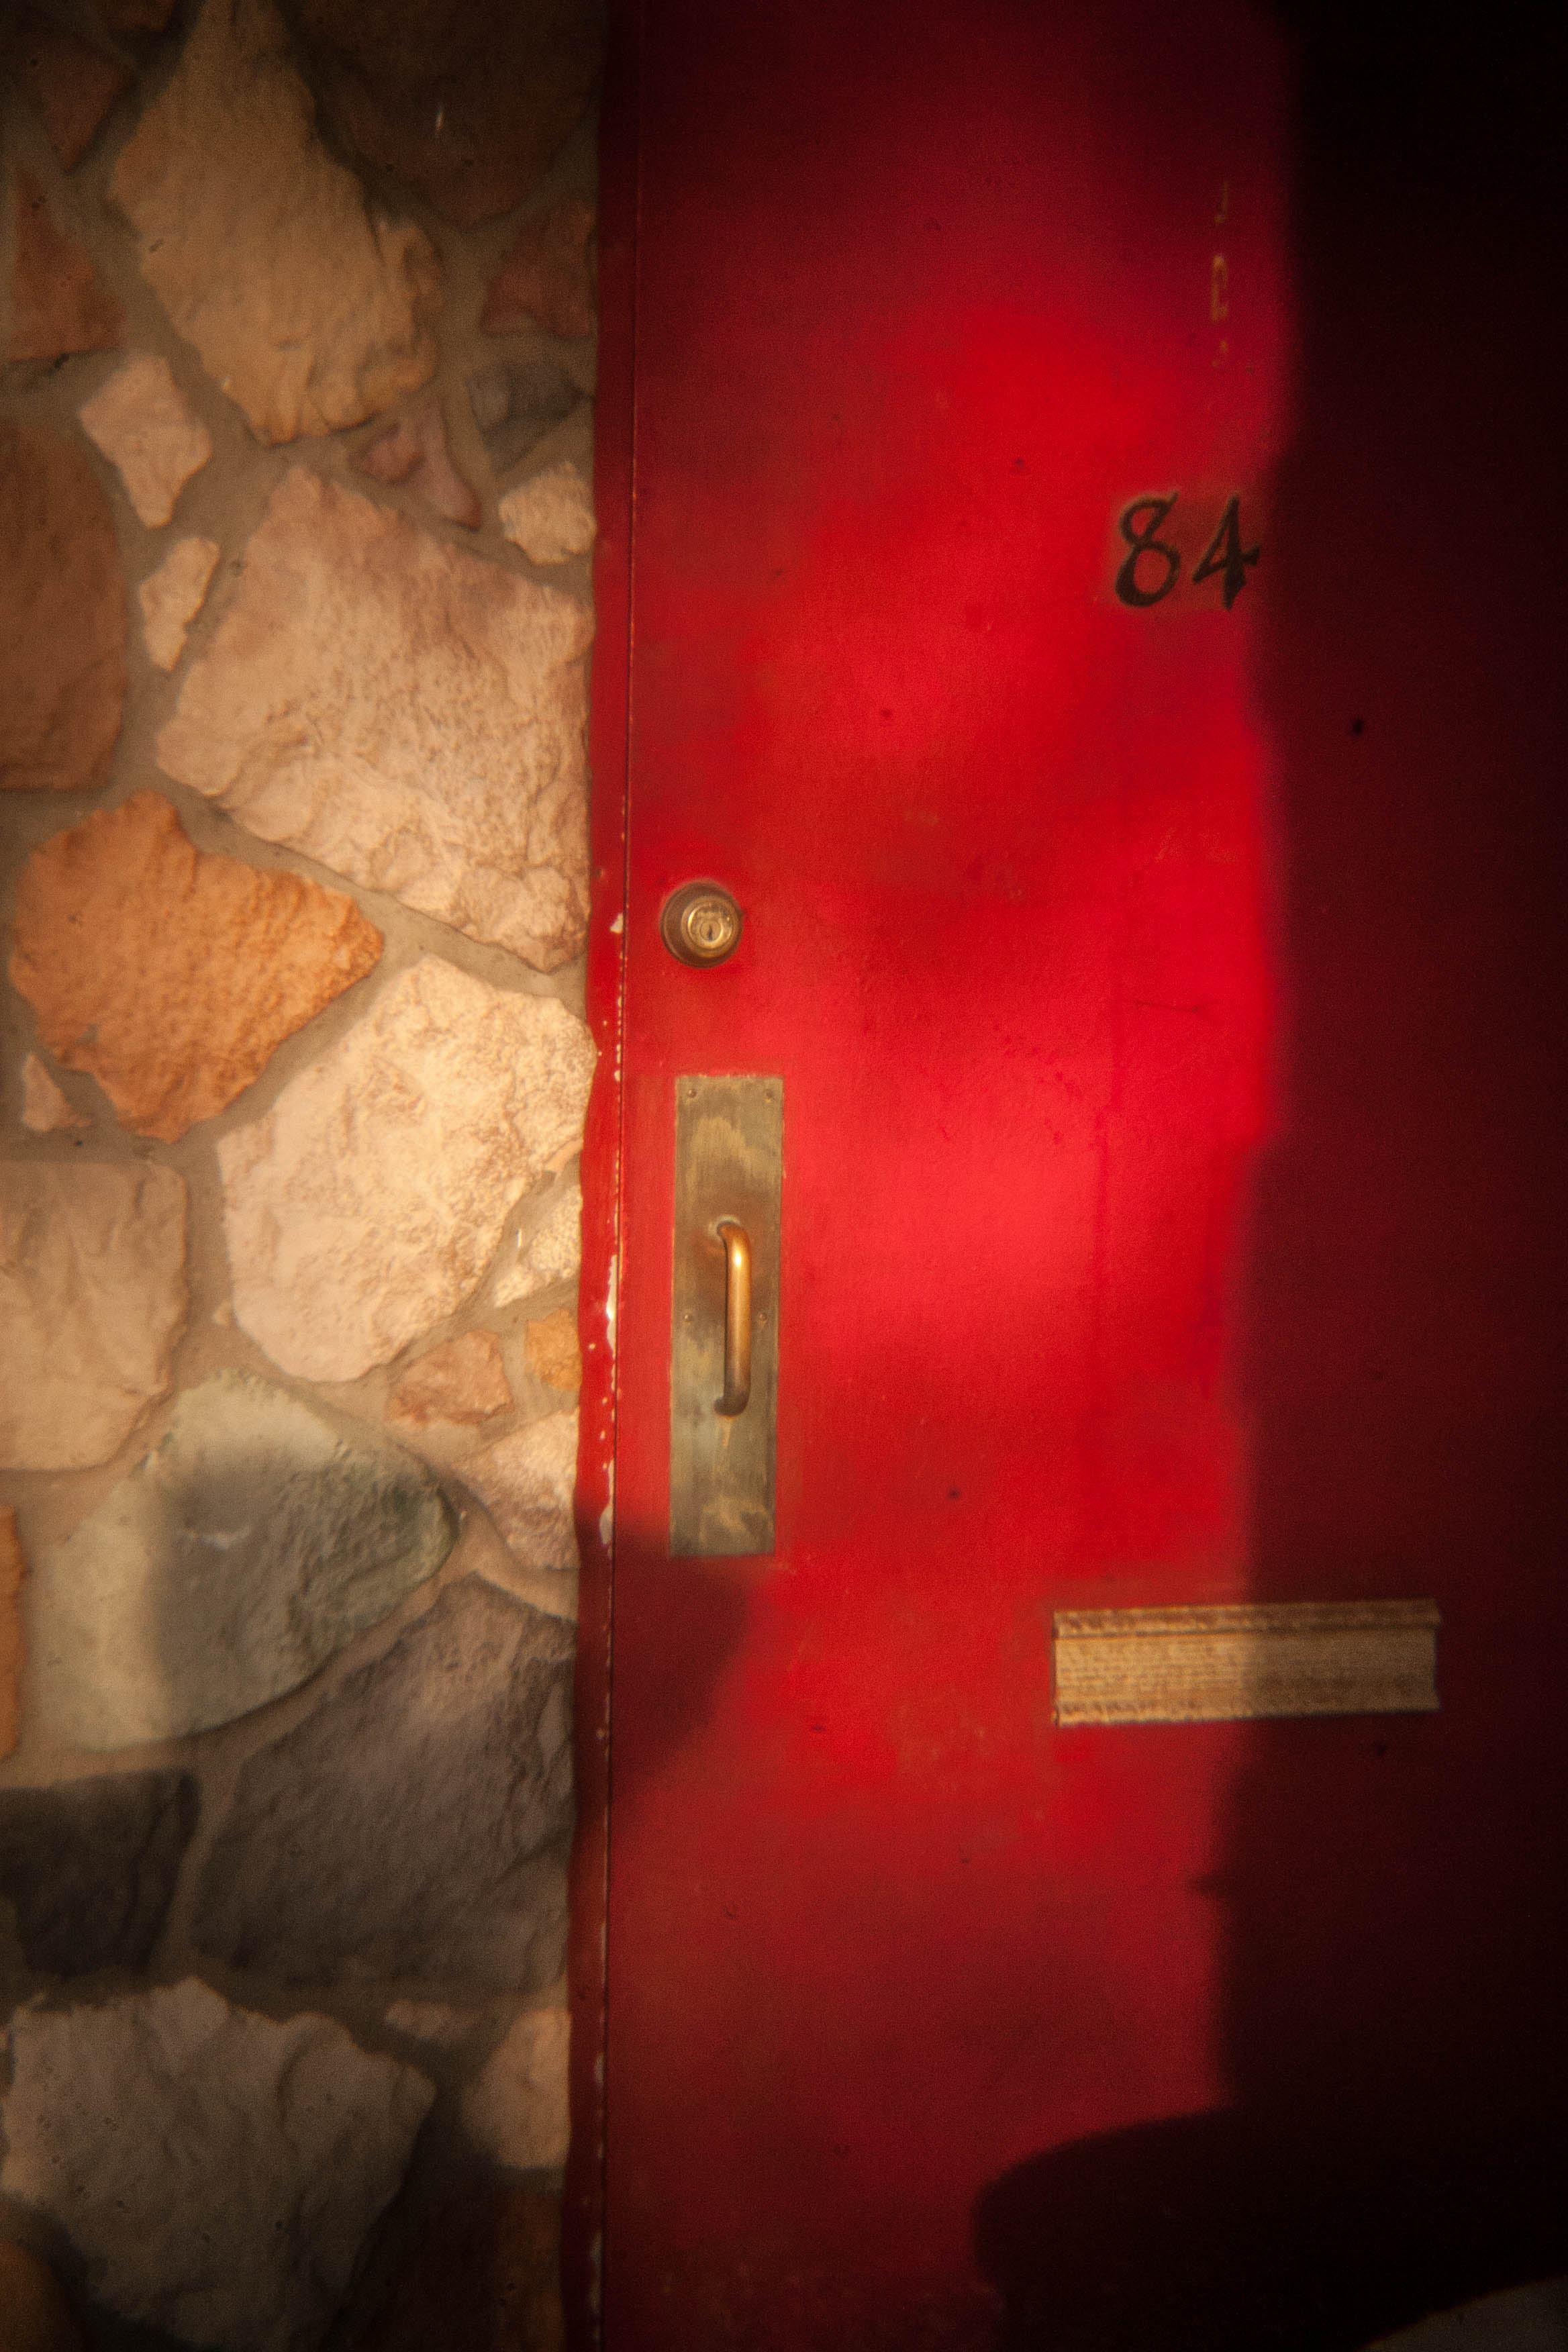
I’m really starting to like this lens, even though getting the exposure right is a little weird. The camera is set to manual and the aperture on the Holga lens is pretty much fixed, so you have to fiddle around with shutter speed for control.
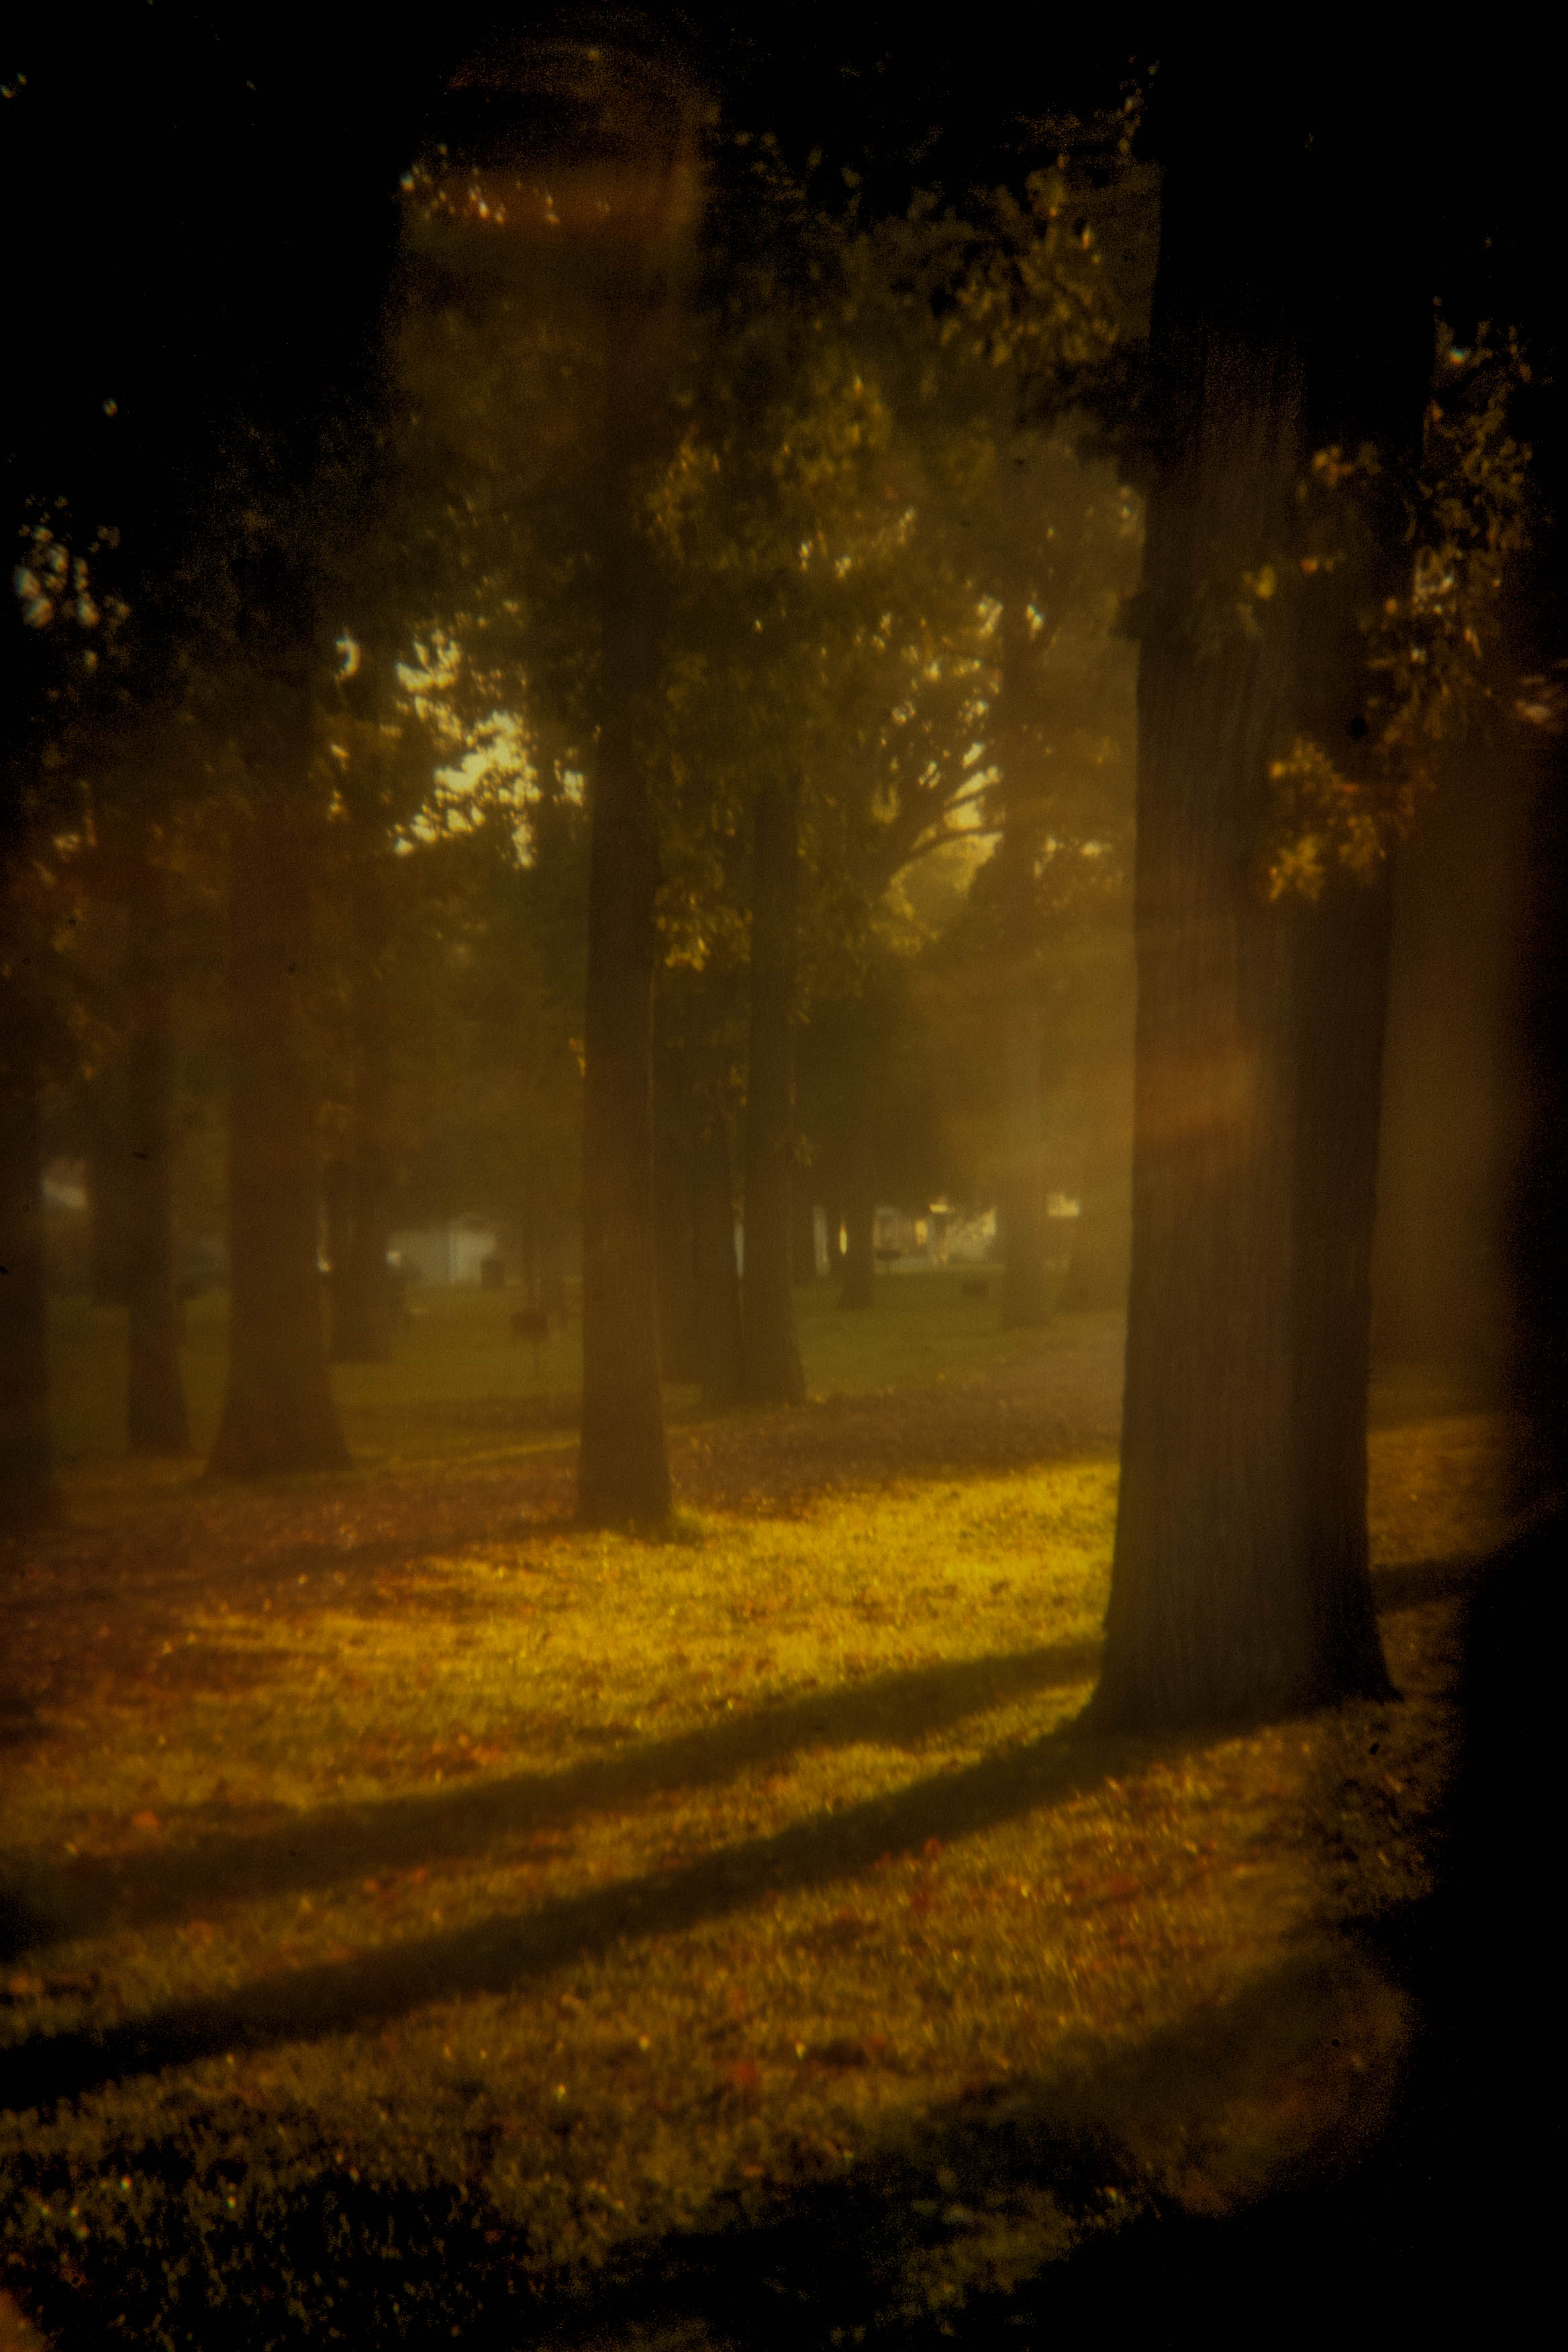
I find that, at least on the 30D the shots tend to be overexposed and have to bring it down in Lightroom. I’m planning a new photoessay on everyday urban blight. Here’s a sample of the types of photographs the study contains:

There’s a hidden aesthetic in the commonplace and that’s what I hope to capture.

I’ll have a lot more on this in future posts.
I misplaced my little Nikon 3100 point and shoot a while ago but found it. After charging the battery I went shooting for an hour in downtown Detroit this week. Here are a few shots:
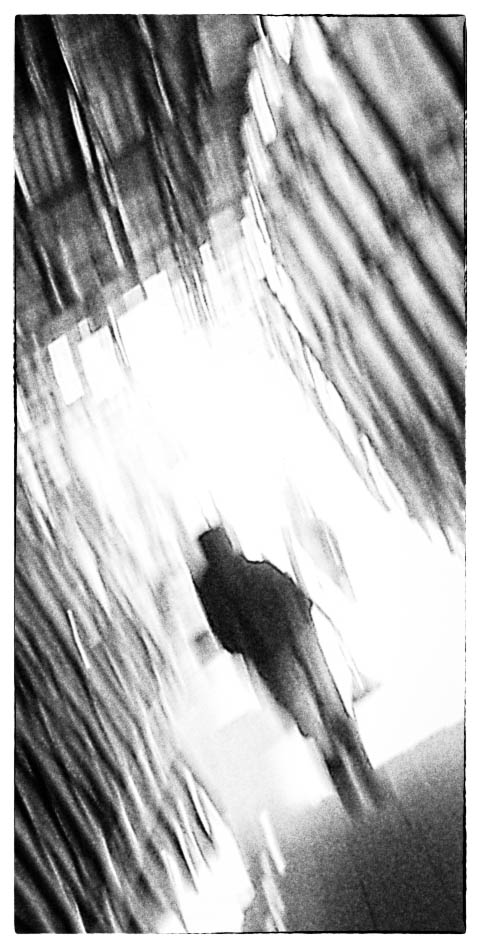

Even with all its faults (out of focus when zoomed, slow recyling time) I still really like carrying this camera with me for street shots. For more, go here: https://stefanstudios84.wordpress.com/around-detroit/
